Home Server - Part 3: Making It Bulletproof
- tags
- #Homeserver #Backup #Security
- categories
- Hosting and Deployment Security
- published
- reading time
- 10 minutes
Once you’re responsible for your own data, backup anxiety hits different. I spent way too much time setting up BorgBackup with three overlapping strategies because the thought of losing family photos or important documents to a drive failure was keeping me up at night.
This is Part 3 of my home server journey. Part 1 covered the inspiration, Part 2 dove into Docker management.
The Backup Paranoia
A backup that isn’t tested is just a false sense of security. That’s the mantra that drove me to build a proper backup system instead of just copying files to another drive and hoping for the best.
I ended up with three overlapping strategies:
- Daily data snapshots - All user data from Nextcloud, Paperless, and Immich (hot backup, services stay running)
- System configs 3x/week - Docker configs, systemd services, scripts (cold backup, brief downtime)
- Weekly full backups - Everything, including OS state (cold backup, brief downtime)
All with proper retention policies, encryption, and most importantly, tested restore procedures.
The actual implementation is more comprehensive than I’ll cover here. The full backup system looks like this:
backup/
├── scripts/
│   ├── backup-data.sh          # Daily user data
│   ├── backup-system.sh        # Weekly configs
│   ├── backup-full.sh          # Monthly everything
│   ├── restore-data.sh         # Data recovery
│   ├── restore-system.sh       # Config recovery
│   ├── restore-full.sh         # Disaster recovery
│   ├── test-backup-restore.sh  # Automated testing
│   ├── test-integration.sh     # End-to-end tests
│   └── test-run.sh             # Test orchestration
├── systemd/
│   ├── borg-backup-*.service   # Backup jobs
│   └── borg-backup-*.timer     # Scheduling
└── README.md
Each backup type has its own script and restore procedure, plus automated tests that simulate various failure scenarios. But the core concept is straightforward, so I’ll focus on the daily data backup that handles the most critical stuff while keeping everything online.
Here’s the daily backup script that handles the important stuff:
#!/bin/bash
set -euo pipefail

# Lockfile to prevent concurrent runs
LOCKFILE="/tmp/borg-backup-data.lock"
[ -e "$LOCKFILE" ] && echo "[!] Backup already running." && exit 1
echo "$$ started at $(date)" > "$LOCKFILE"
trap 'rm -f "$LOCKFILE"' EXIT

# CONFIG
export BORG_REPO="/srv-data/archives/data-repo"
export BORG_PASSPHRASE=$(< ~/.config/borg/passphrase)
BACKUP_NAME="data-$(hostname)-$(date +%F_%H-%M)"

# What actually matters
sudo -E borg create --verbose --stats --compression zstd \
  "$BORG_REPO::$BACKUP_NAME" \
  /srv-data/nextcloud/data \
  /srv-data/paperless/data \
  /srv-data/immich/photos \
  --exclude-caches

# Prune old backups (keep 7 daily, 4 weekly, 6 monthly)
sudo -E borg prune --verbose "$BORG_REPO" \
  --keep-daily=7 --keep-weekly=4 --keep-monthly=6

echo "[✓] Data-only backup completed: $BACKUP_NAME"
The script runs with sudo -E to preserve the environment variables while having the necessary permissions to read all the data directories. The passphrase lives in the user’s config directory rather than a system-wide location, which feels more secure for a single-user setup.
Automation happens through systemd timers with different schedules for each backup type:
# borg-backup-data.service
[Unit]
Description=Borg Backup - Data Only

[Service]
Type=oneshot
ExecStart=/srv/system-backup/backup-data.sh

# borg-backup-data.timer
[Unit]
Description=Daily Borg Backup - Data

[Timer]
OnCalendar=daily
AccuracySec=1h
Persistent=true

[Install]
WantedBy=timers.target
The system backups run Monday/Wednesday/Friday at 2 AM, and full backups happen Sunday at 4 AM - all scheduled when nobody’s likely to notice the brief downtime.
Testing the Nuclear Option
But the real secret sauce is testing the restores. Every month, I run through a comprehensive restore test suite - though I’ll be honest, I probably wouldn’t have gone this deep without modern AI tools helping me build it.
The test framework uses Docker containers to spin up isolated environments, generate realistic test data, and then systematically break things to see if I can get them back. It covers data-only restores, system restores, and full disaster recovery scenarios. There are even performance benchmarks because apparently I got carried away.
What started as “I should probably test my backups sometimes” turned into automated scripts that intentionally corrupt data, nuke containers, and verify they can be restored to working states. The AI helped me think through edge cases I never would have considered and write test scenarios that actually simulate real failure modes.
It’s one thing to have backups running quietly in the background. It’s another to have monthly automated proof that you can actually resurrect your infrastructure when disaster strikes. And honestly, without AI assistance to help design and debug these test scenarios, I probably would have stuck with the classic “hope the backups work” approach that most of us use.
Locking Down External Access
All external access goes through Cloudflare Tunnels with Zero Trust policies. No port forwarding, no dynamic DNS headaches, no SSH exposed to the internet.
The setup is surprisingly straightforward. While SSH access uses a traditional cloudflared config file, all the web services run through a Docker container that’s part of my compose stack:
# docker-compose.yml (excerpt)
services:
  cloudflared:
    image: cloudflare/cloudflared:2025.8.1
    container_name: cloudflared
    restart: unless-stopped
    depends_on:
      - nextcloud
      - adguard
      - immich-server
      - grafana
      - paperless-ngx
    command: tunnel run --token ${CLOUDFLARE_TUNNEL}
    environment:
      - TUNNEL_METRICS=0.0.0.0:2000
    ports:
      - "127.0.0.1:2000:2000"
The tunnel configuration lives in Cloudflare’s dashboard rather than local config files. The CLOUDFLARE_TUNNEL token handles authentication and routing for all the web services, while SSH gets its own traditional setup with a config file for ssh.mattjh.sh.
But the real magic is in the Zero Trust policies. Different services get different access controls:
- Nextcloud - More open so family can access files easily (but still invite only)
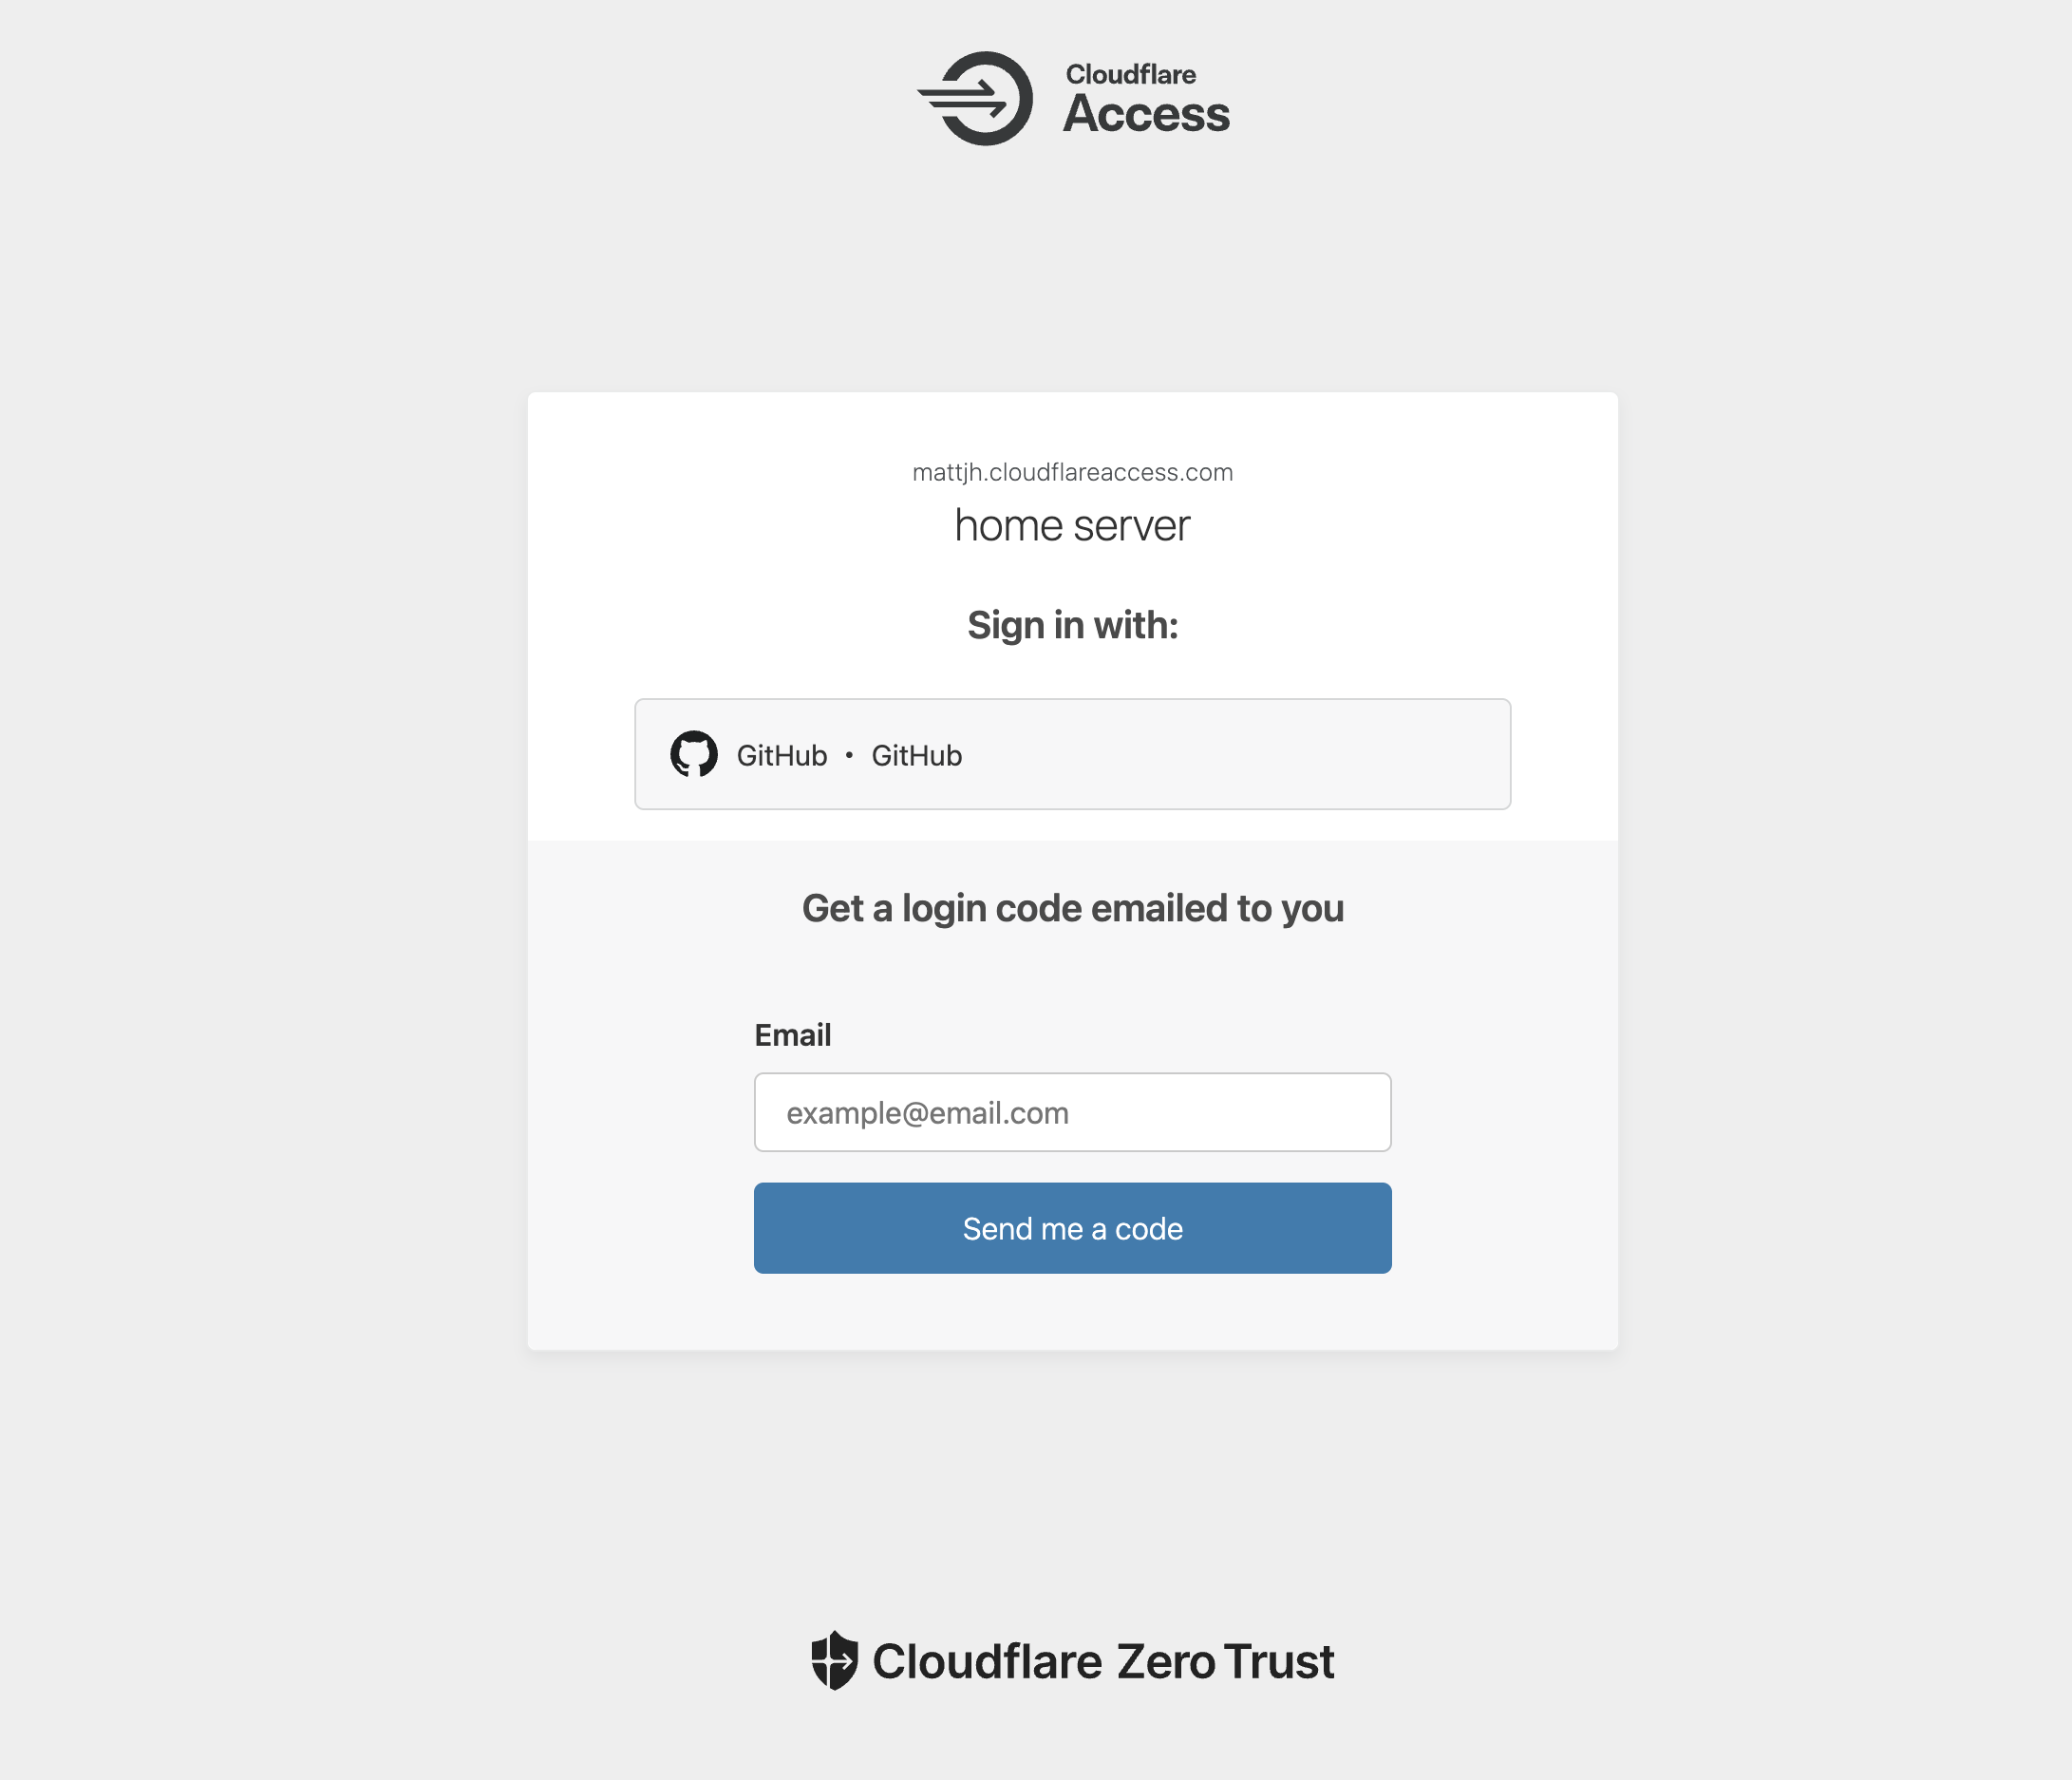
- Grafana/AdGuard - Require GitHub authentication (which has passphrase protection)
- SSH - Only accessible from specific countries + GitHub auth with passphrase
Services like grafana.mattjh.sh, paperless.mattjh.sh, and adguard.mattjh.sh are protected behind authentication. Try accessing them without proper credentials and you’ll hit my custom access denied page with Star Wars references.
This approach eliminates so many security headaches. No need to worry about SSH brute force attacks, no dynamic IP monitoring, no certificate management nightmares. Cloudflare handles the TLS termination, DDoS protection, and access control while I focus on the actual services.
Monitoring
Prometheus and Grafana turned from “nice to have” to “absolutely essential” once I had real services people depend on. Here’s what I actually monitor:
# prometheus.yml (excerpt)
scrape_configs:
  - job_name: "prometheus"
    static_configs:
      - targets: ["localhost:9090"]

  - job_name: "node-exporter"
    static_configs:
      - targets: ["172.17.0.1:9100"]

  - job_name: "redis"
    static_configs:
      - targets: ["redis-exporter:9121"]

  - job_name: "postgresql"
    static_configs:
      - targets: ["postgres-exporter:9187"]
Now I get alerts if backups stop running, disk space gets low, or any service starts behaving strangely. The peace of mind is worth the setup time.
The Unexpected Wins
The technical stuff is satisfying, but the real wins are how it changed daily life for everyone in the household. Though let’s be honest - it’s not as seamless as the big tech alternatives.
Photo Organization
Immich’s AI is genuinely impressive. It found duplicates I’d forgotten about, organized everything by faces and locations, and made our photo collection actually browsable instead of a chronological mess.
The facial recognition runs entirely on my hardware - no sending family photos to Google or Apple for analysis. My partner can search for “photos at the beach” and actually get meaningful results. Well, most of the time. It’s not quite as good as Google Photos at understanding context, and the face recognition occasionally thinks Santa decorations is a person, but it’s pretty damn close.
The upload experience isn’t as smooth as iCloud - sometimes the mobile app gets confused about what’s synced and what isn’t. But the privacy trade-off is worth the occasional hiccup.
Paperless
Paperless-NGX has been a complete game-changer. Every document gets scanned, OCR’d in both Swedish and English, and indexed automatically. Tax documents, warranties, random PDFs, insurance papers - everything is searchable.
No more digging through filing cabinets or wondering where I put that important document. “Where’s the warranty for the washing machine?” becomes a quick search instead of a 20-minute archaeological expedition.
The OCR accuracy is genuinely impressive. It handles Swedish documents just as well as English ones, and even picks up text from photos and screenshots. Though I did have to train myself to actually use the inbox folder instead of just dumping files randomly into the web interface.
Ad-Free Internet
The whole household loves the network-wide ad blocking. AdGuard Home sits at the DNS level, so every device automatically benefits without installing anything.
Browsing actually feels pleasant again. No creepy ads following us around, no second-guessing what trackers are up to. YouTube still has ads (DNS blocking can’t fix everything), but the general web experience is dramatically cleaner.
The analytics are eye-opening too - seeing how many tracking requests get blocked daily made me realize how pervasive the surveillance has become.
But beyond ad blocking, it gives me granular control over what the kids can access as they get older. Block specific sites, filter categories, set different rules for different devices - all without installing parental control software on every device. The network-level approach means there’s no app to uninstall or setting to bypass.
The Real Results
Few months in, my data is mine again. No ads, no tracking, no wondering what some algorithm is doing with my information behind the scenes. I can search years of documents instantly, photos organize themselves intelligently, and everything just works the way I want it to.
Well, mostly. There are definitely rough edges. Sometimes Nextcloud decides to re-sync everything for no apparent reason. Immich occasionally chokes on weirdly formatted photos. The backup notifications don’t always work perfectly.
But the backup strategy has been rock solid. Borg’s deduplication is genuinely impressive - I can backup the system, data, everything multiple times without filling up storage instantly. What would normally be hundreds of gigabytes of redundant backups becomes a fraction of that thanks to intelligent block-level deduplication. I’m backing up more comprehensively than I ever did before while using less space.
But honestly? More than anything, this was an amazing learning experience. What started as a weekend experiment became something genuinely useful for the whole household, but the real value was everything I learned along the way. Docker networking, backup strategies, monitoring systems, security practices - concepts that seemed intimidating became second nature through hands-on experience.
My partner can access her files from anywhere (when the internet connection cooperates), I can easily share content with friends, and while the kids are small now, they’ll grow into having their own accounts and storage.
My partner is impressed with what I’ve built, but she’s also quick to point out when things don’t “just work” the way they do with Apple or Google. Fair point. This isn’t plug-and-play infrastructure. But it’s my infrastructure, and I understand every piece of it now. That knowledge is worth more than the convenience trade-offs.
What’s Next
The system works great, but there’s always room to grow. Next on the list is setting up off-site backups - probably monthly syncs to cloud storage for that extra peace of mind. Local backups are great until your house burns down.
I’m also thinking about fully automating the Renovate workflow. Right now I manually pull updates and redeploy when I feel like it, but it wouldn’t be hard to set up systemd jobs that handle the whole dance: pull the latest compose file, run the deployment, send me a notification if something breaks.
The infrastructure is there, I just need to commit to full automation. But there’s something satisfying about consciously choosing when to update your stack rather than letting robots do it while you sleep.
The Bottom Line
If you’ve been thinking about self-hosting, start with one service. Pick something you actually use - file sync, photo backup, document storage. Get it working, get it backed up, then see what else sounds interesting.
Fair warning though - it’s genuinely addictive. One container becomes ten, and suddenly you’re running infrastructure you’re actually proud of. Your data becomes yours again, your internet gets faster and cleaner, and you develop opinions about PostgreSQL tuning parameters.
The learning never stops. There’s always another service to try, another optimization to make, another problem to solve. And honestly? That’s the best part.